Error installing Netris agent on Cumulus
Installing netris agent in Mellanox Switch with new cumulus it might there are some trouble while in progress.

first you need to check date on the switch, is it real-time date? If it isn’t, you can change the timezone with command timedatectl set-timezone. In this case my timezone GMT+7 which is Asia/Jakarta time.
sudo timedatectl set-timezone Asia/Jakartanext, you need to set date & time. Either using NTP sync or set manually.Ubuntu 20.04 comes with systemd-timesyncd as the default time synchronization service. However, for more complex configurations, you might prefer the traditional ntp package. To install it, use the following command:
sudo apt-get update
sudo apt-get install ntp
Once installed, you can configure the NTP client by editing its main configuration file located at /etc/ntp.conf. In the ntp.conf file, you can specify NTP servers to synchronize with. It’s recommended to use servers from the NTP Pool Project. Here’s an example of how to add servers:
pool 0.ubuntu.pool.ntp.org iburst
pool 1.ubuntu.pool.ntp.org iburst
pool 2.ubuntu.pool.ntp.org iburst
pool 3.ubuntu.pool.ntp.org iburst
The iburst keyword allows for faster synchronization when the client starts up.
After configuring your servers, manage the NTP service with the following commands:
sudo systemctl restart ntp #To apply the new configuration.

sudo systemctl enable ntp #To ensure the NTP service starts at boot.
To confirm that your NTP client is properly synchronized use command ntpq -p.
If date & time still not updated yet because the NTP not sync yet, you can set date & time manually using following syntax date -s=”Date and time information”
example:
date -s “2 June 2023 14:05:00”After setup date & time, let’s make sure the switch connect the internet on the OOB.
On the Cumulus Linux v5, the default Virtual Routing and Forwarding (VRF) is set to ‘mgmt.’ To switch to the default VRF, please refer to the following instructions:
Disable ztp:
sudo ztp -d
sudo ip vrf exec default bash
Open the network interfaces file, add the IP address and other required details, and ensure that you remove the ‘mgmt’ VRF configuration:
sudo nano /etc/network/interfaces# The loopback network interface
auto lo
iface lo inet loopback
# The primary network interface
auto eth0
iface eth0 inet static
address <management IP address/prefix length>
gateway <gateway of management network>
source /etc/network/interfaces.d/*echo "nameserver <dns server>" | sudo tee /etc/resolv.conf
sudo ifreload -aYou might see a one-time warning in the output of ifreload, which you can ignore:
warning: mgmt: cmd '/usr/lib/vrf/vrf-helper delete mgmt 1001' failed: returned 1 (Failed to delete cgroup for vrf mgmt)
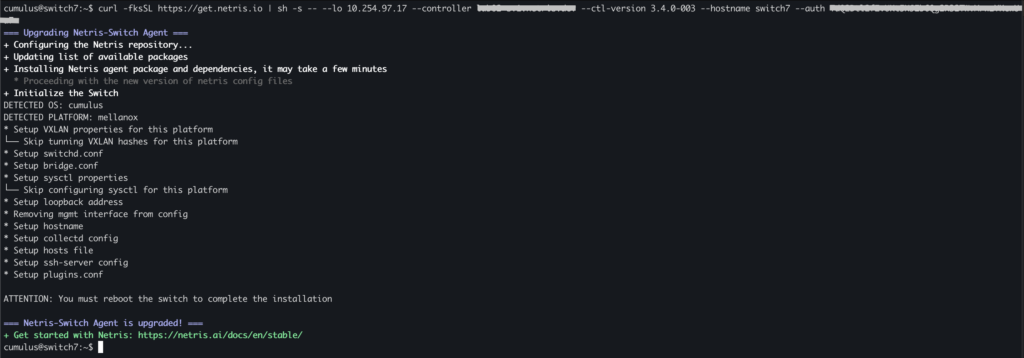
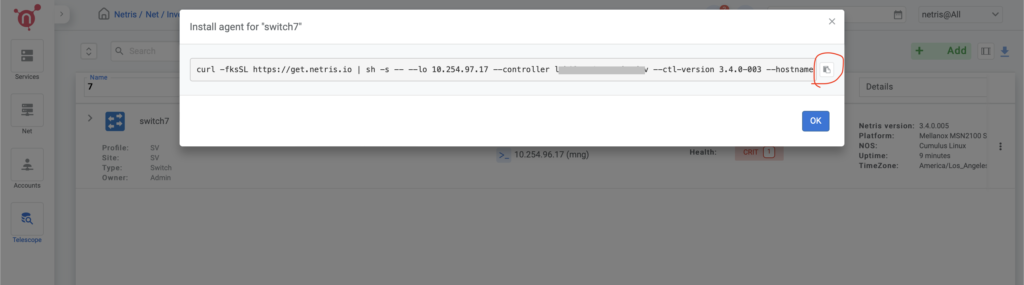
after make sure the connection you can install the agent by copied in this section:
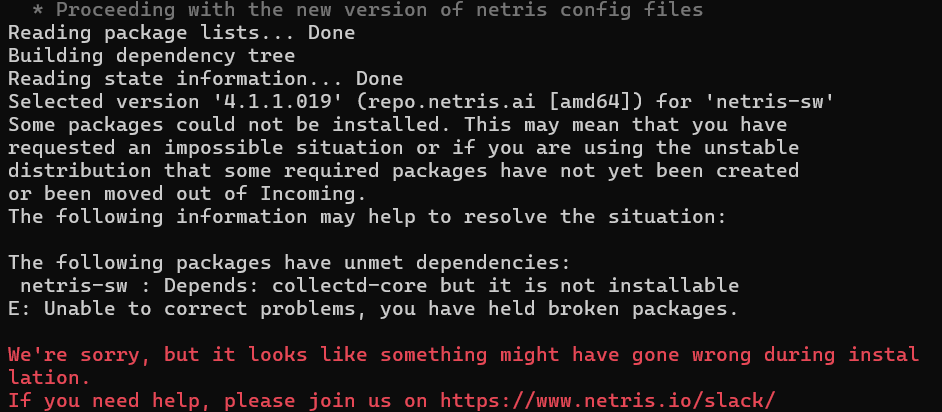
there’s a case it still failed when installing agent and use –debug in the end of the one-liner, and found this problem:
you need to check for linux update with apt-update command, it might show the problem like this, you see errors for expired GPG keys that prevent you from updating:
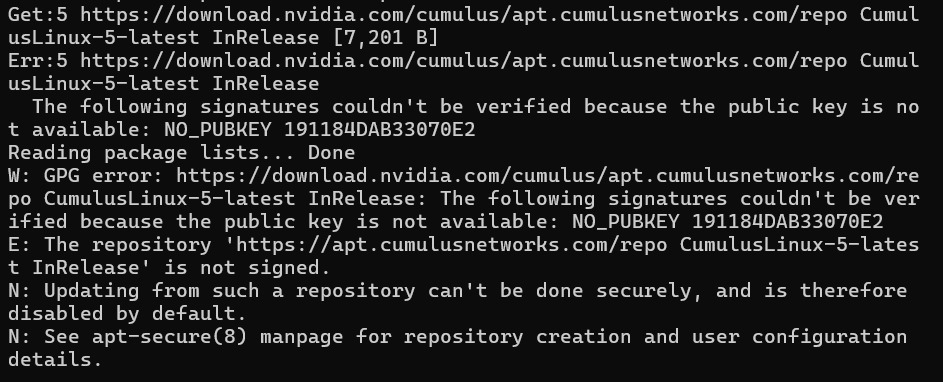
for resolution of this case, you need to install the new keys, then update the switch:
cumulus@switch:~$ wget https://download.nvidia.com/cumulus/apt.cumulusnetworks.com/repo/pool/cumulus/c/cumulus-archive-keyring/cumulus-archive-keyring_4-cl5.6.0u5_all.deb
cumulus@switch:~$ sudo apt install ./cumulus-archive-keyring_4-cl5.6.0u5_all.deb
cumulus@switch:~$ sudo apt update
and you can try install the agent again, and reboot after the agent installation.