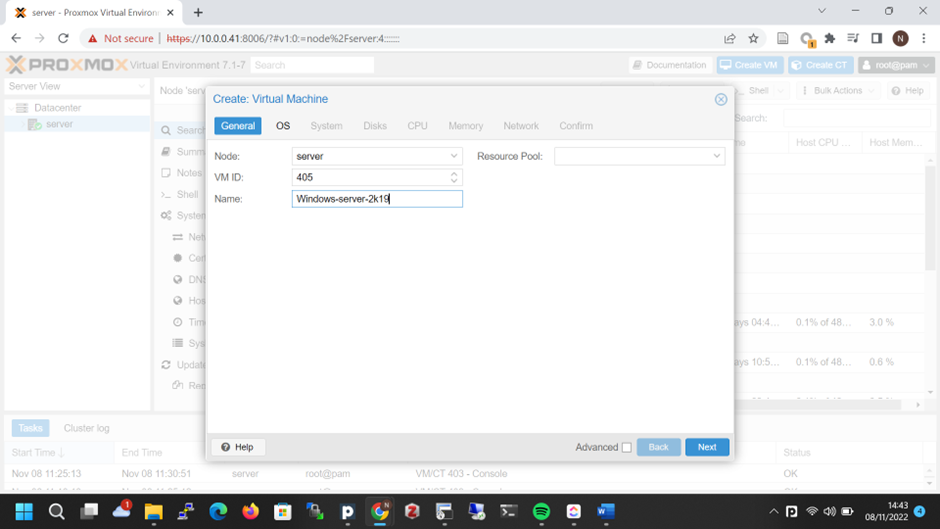
Create Windows server 2k19 VM to openstack from Proxmox 7.1
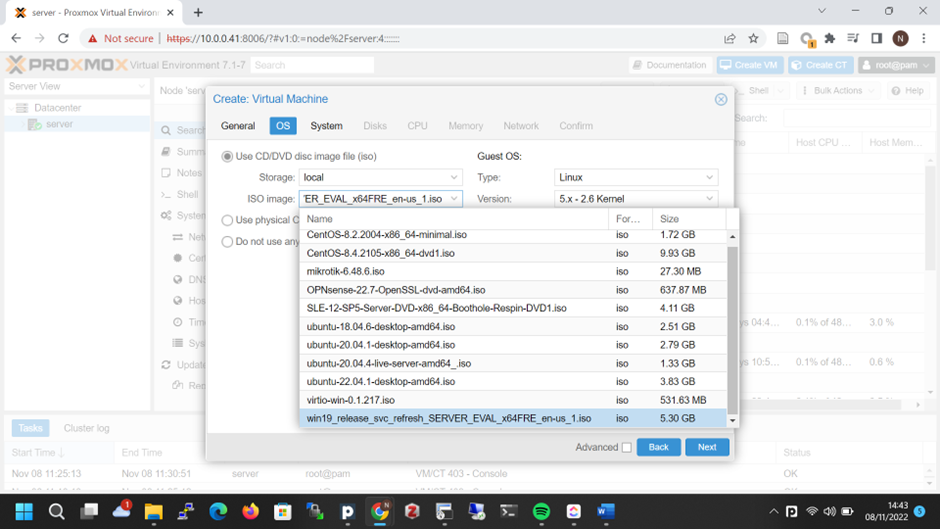
untuk menjalankan windows server pada Proxmox Virtual Environment 7.1-7 dibutuhkan virtio image, untuk windows server 2k19 menggunakan support dari virtio versi virtio-win-0.1.217.iso
STEPS:
Log in to UI Proxmox
Download windows server image Iso to proxmox

Choose Download from url
copy Download URL and Image name
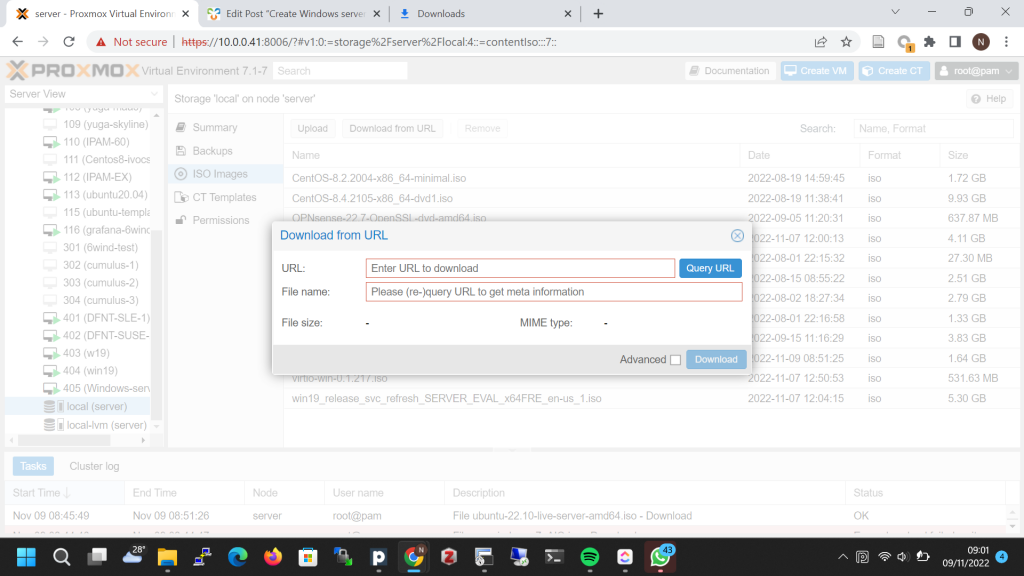
Download the iso image
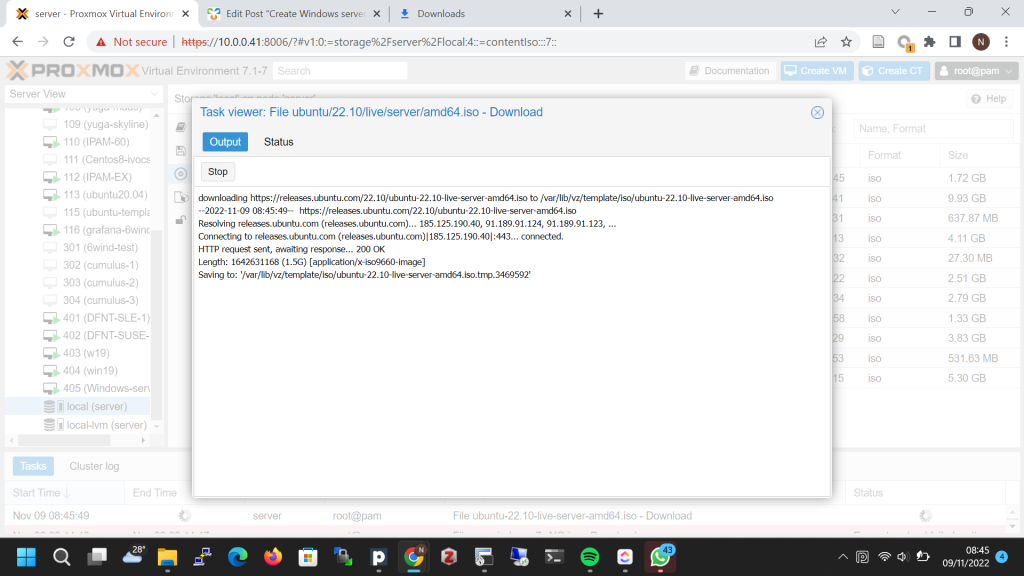
wait till the download is done
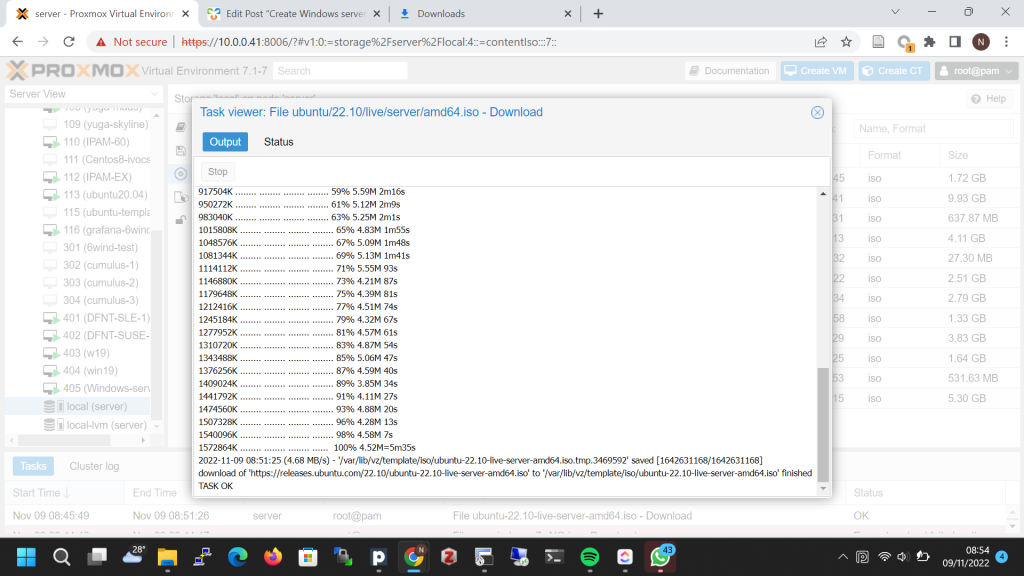
Do the same things to download virtio image.
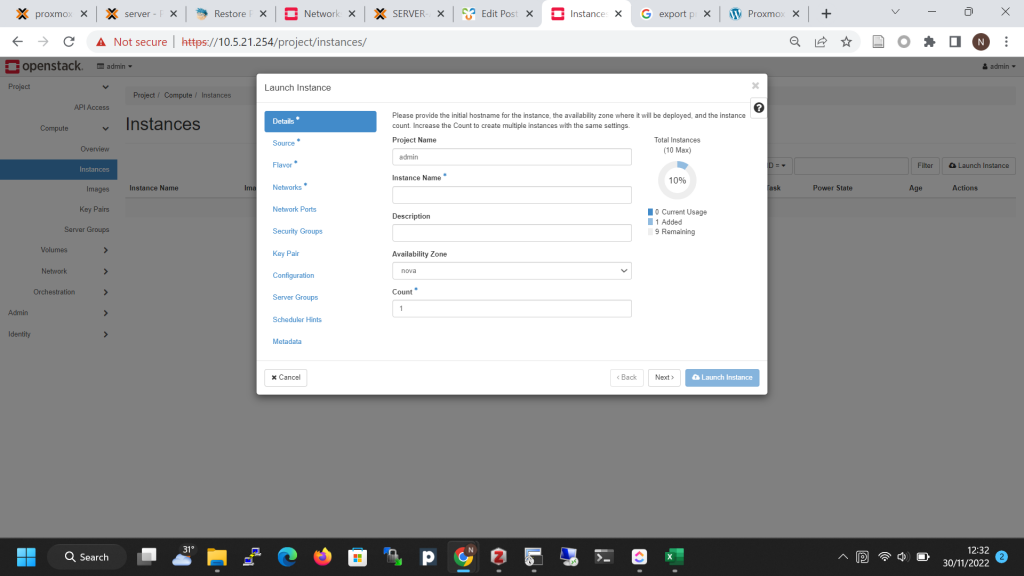
Next step is Create the VM
choose image operating system
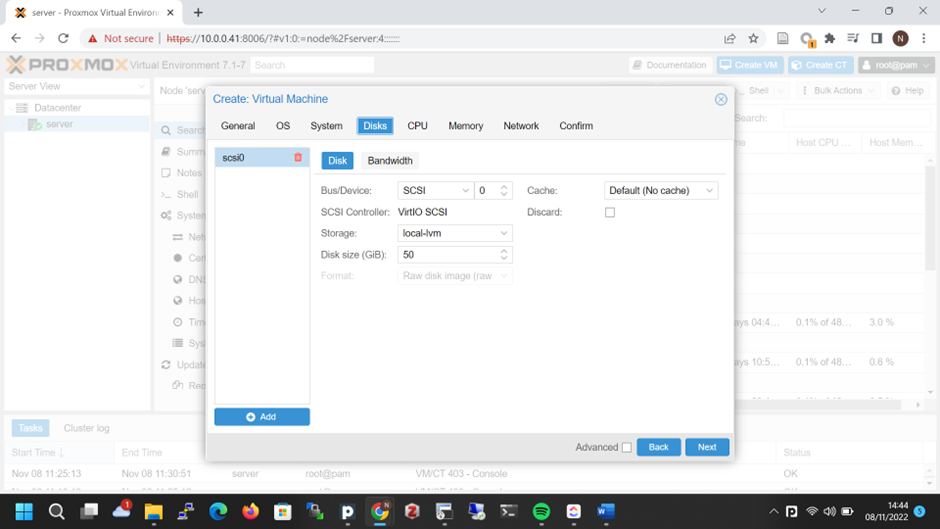
setup disks configuration
setup CPU

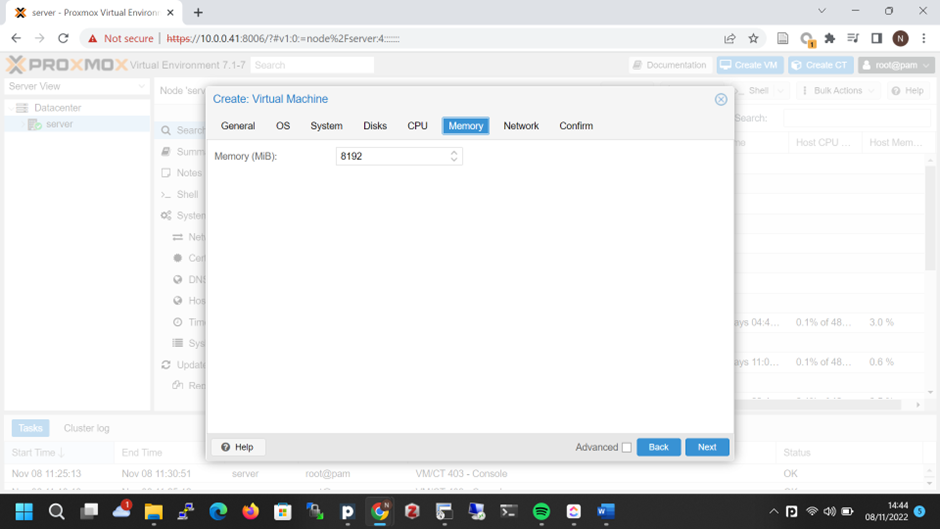
Setup memory
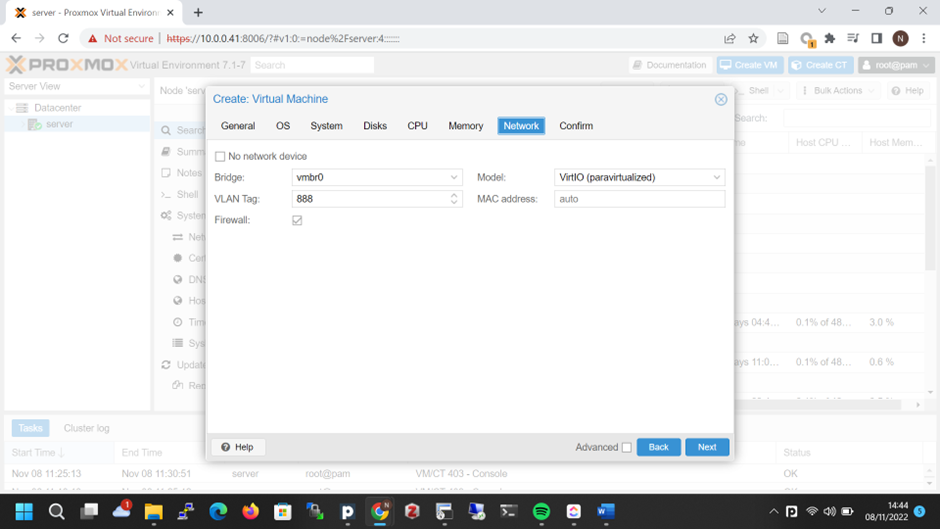
setup network
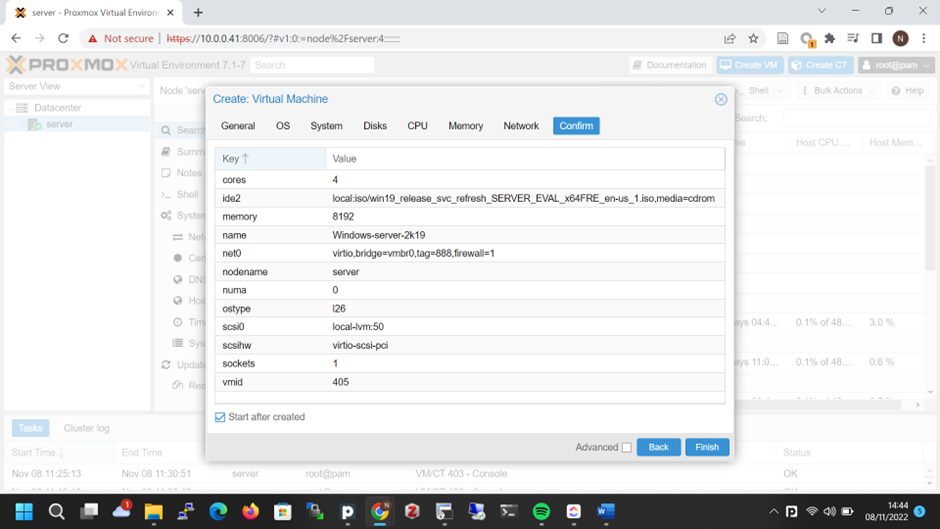
last one confirm the vm configuration
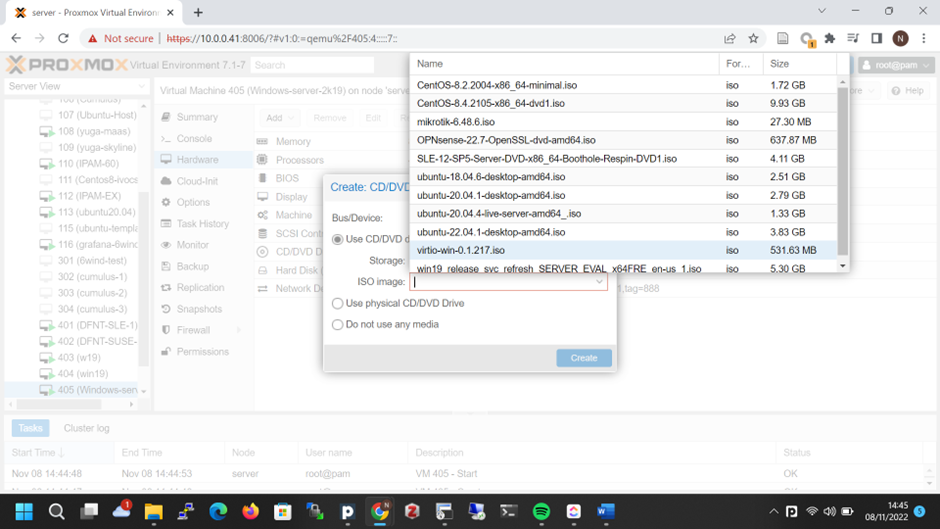
to run a windows server you must add virtio image. virtio-win-0.1.217.iso support win 7- windows11 and windows server 2k8r2 windows server 2k22
choose hardware menu and add drive
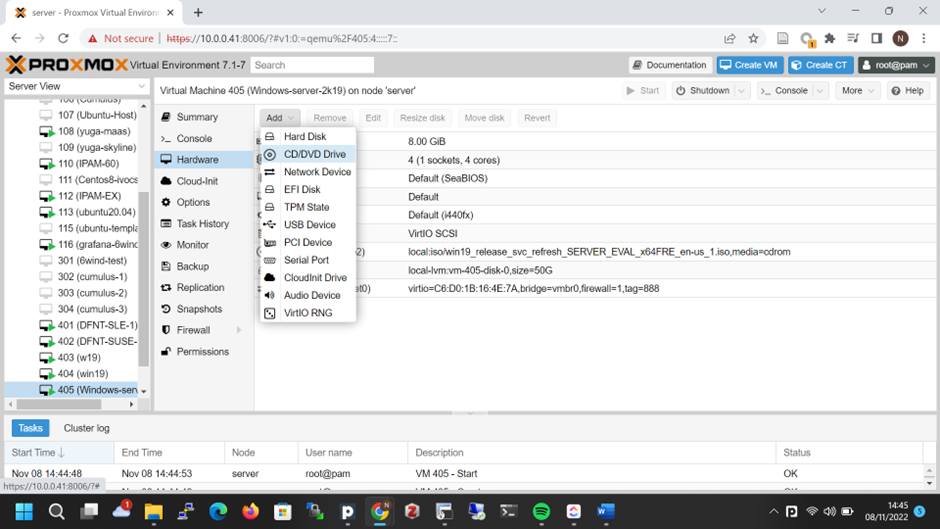
choose virtio image
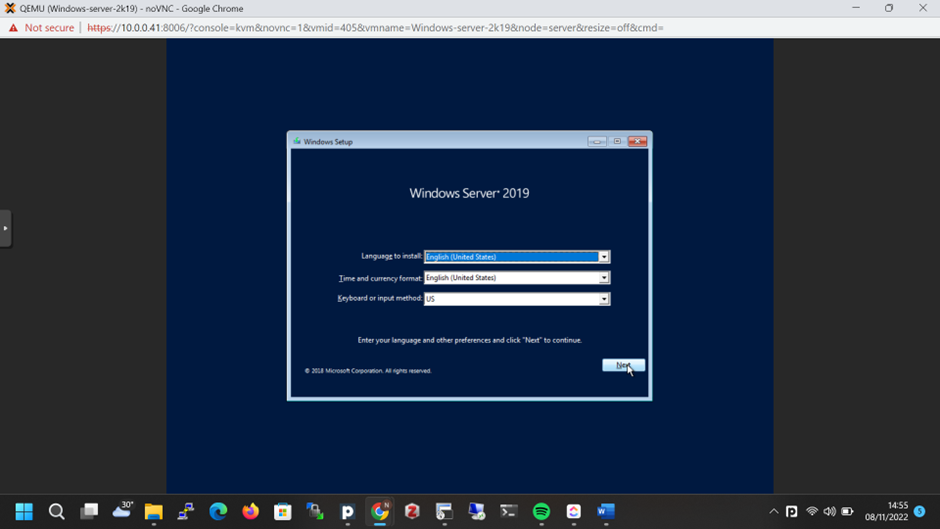
then start the VM
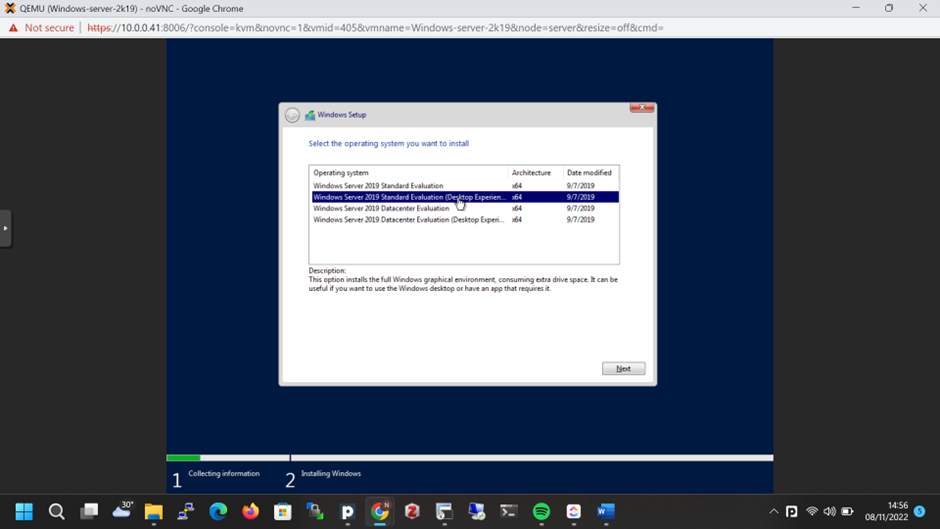
pilih versi instalasi standart/standart dekstop/ datacenter/datacenter dekstop
umumnya menggunakan versi dekstop
accept license terms

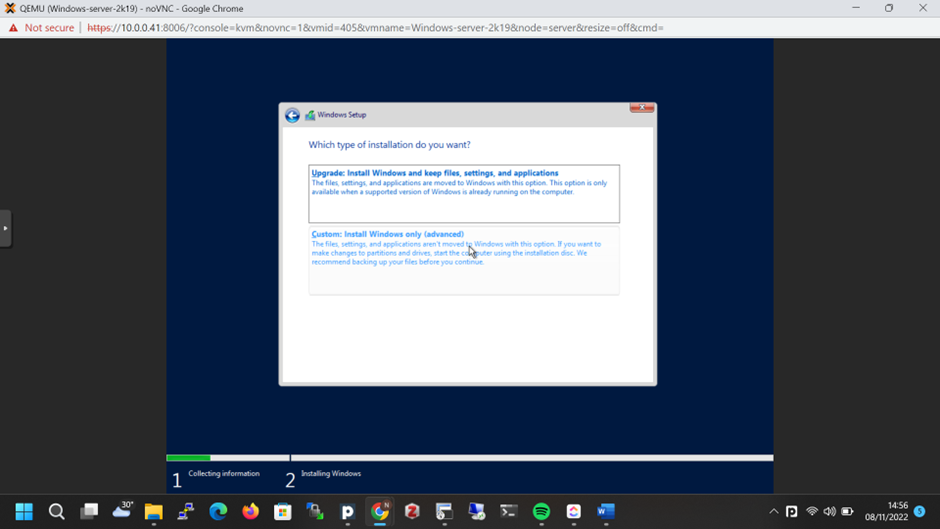
choose custom installation
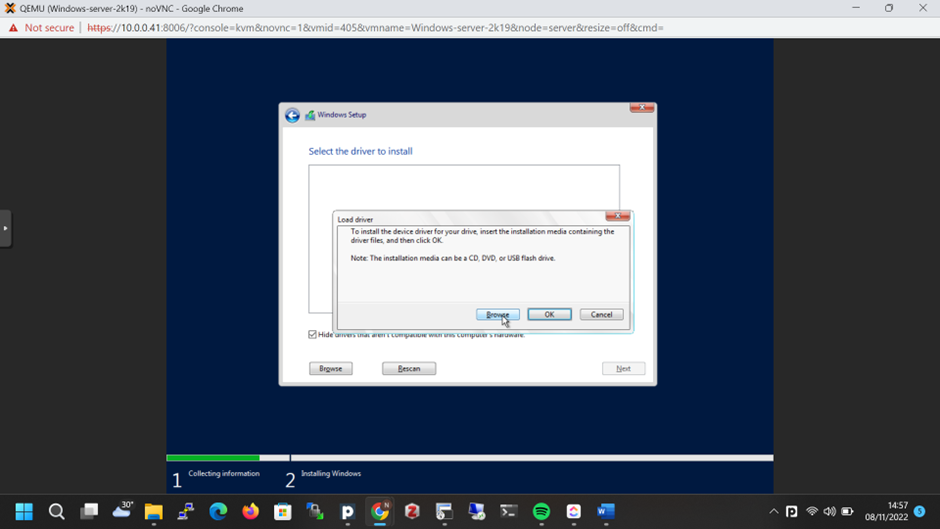
pilih load driver
add local driver, choose browse
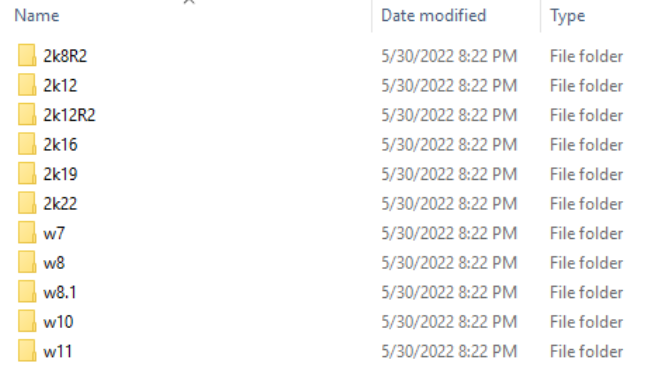
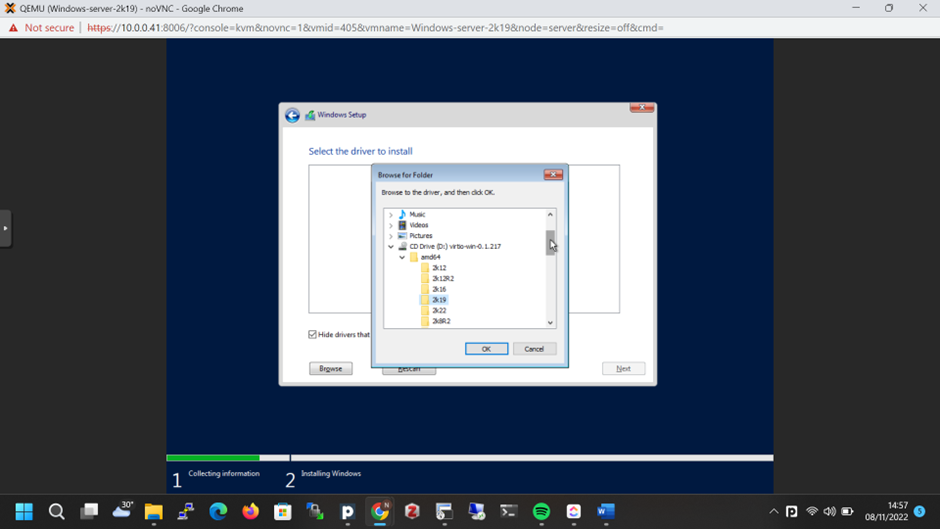
pilih directory sesuai dengan versi operating system virtio>amd64>2k19
install redhat virtio scsi pass-trough controller then next
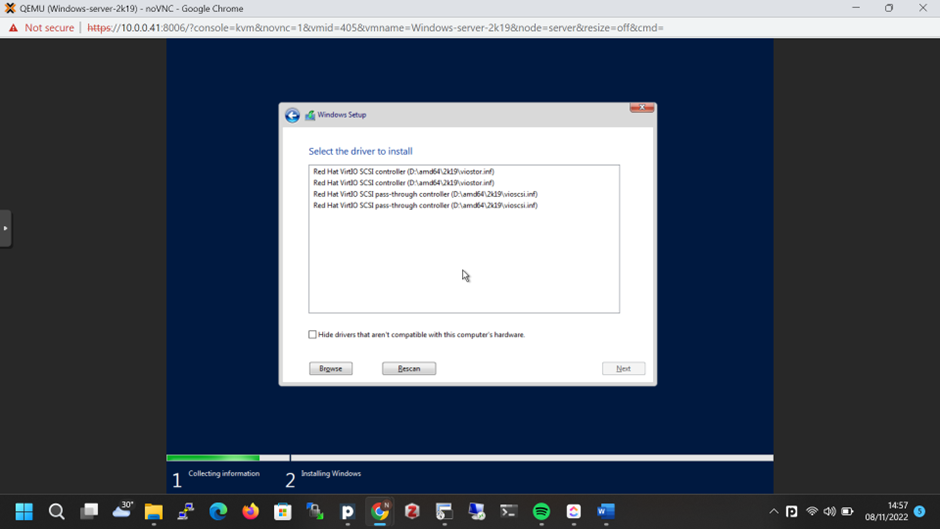
driver disk akan terbaca
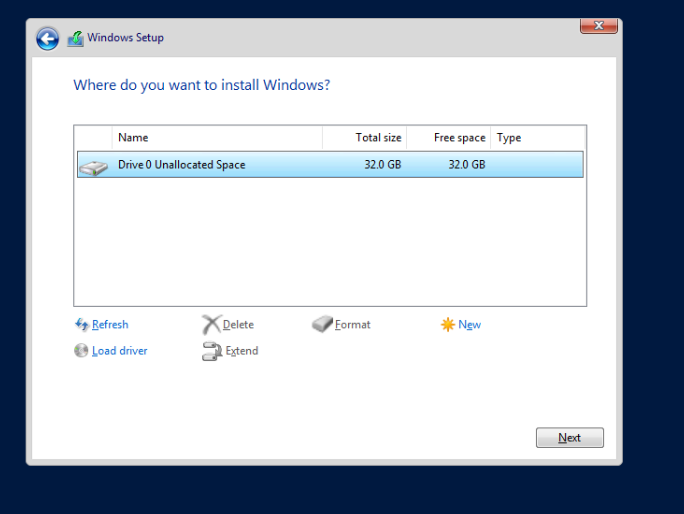
kemudian bisa next untuk melanjutkan instalasi windows
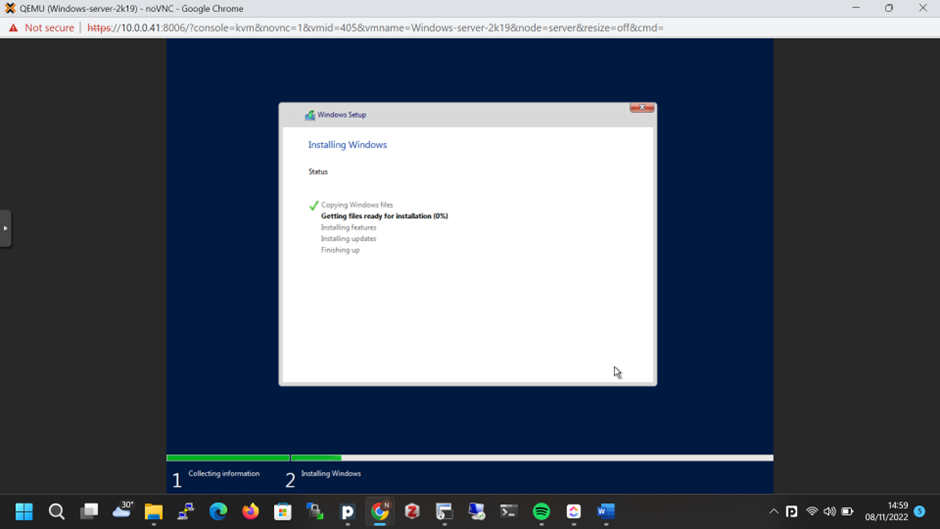
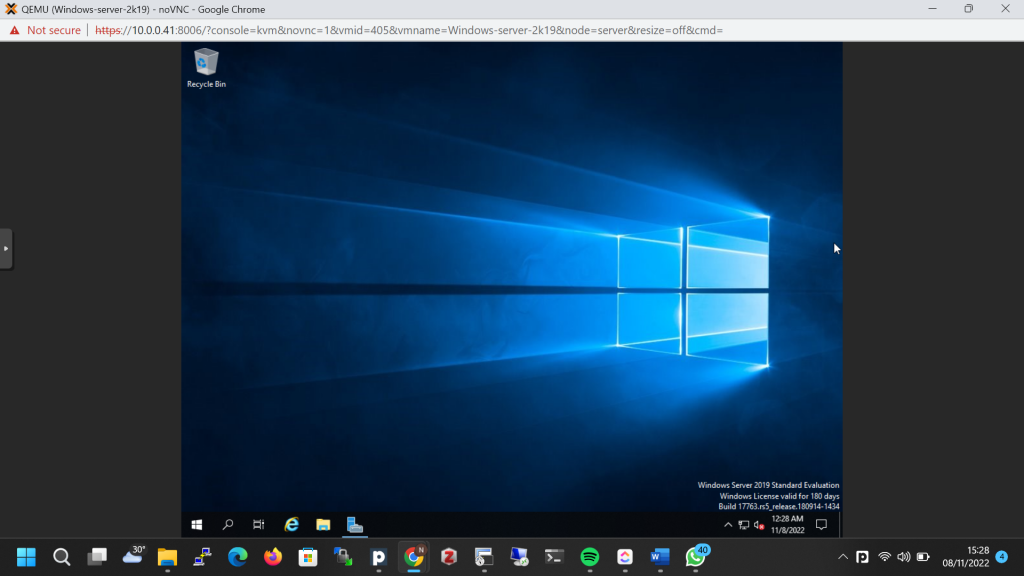
setelah selesai melakukan konfigurasi bisa jalankan intalasi windows server
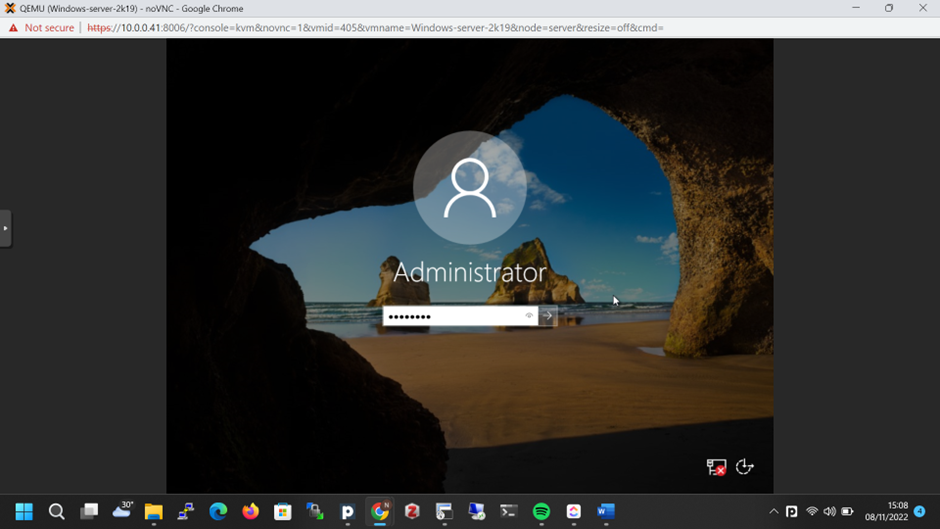
buat password untuk user Administrator
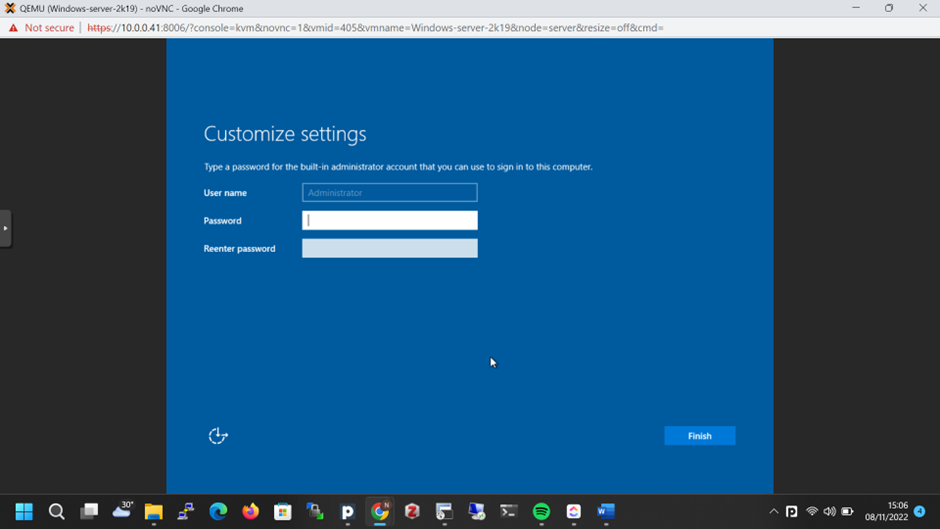
setelah selesai dapat login dengan user administrator dan password yang dikonfigurasikan sebelumnya
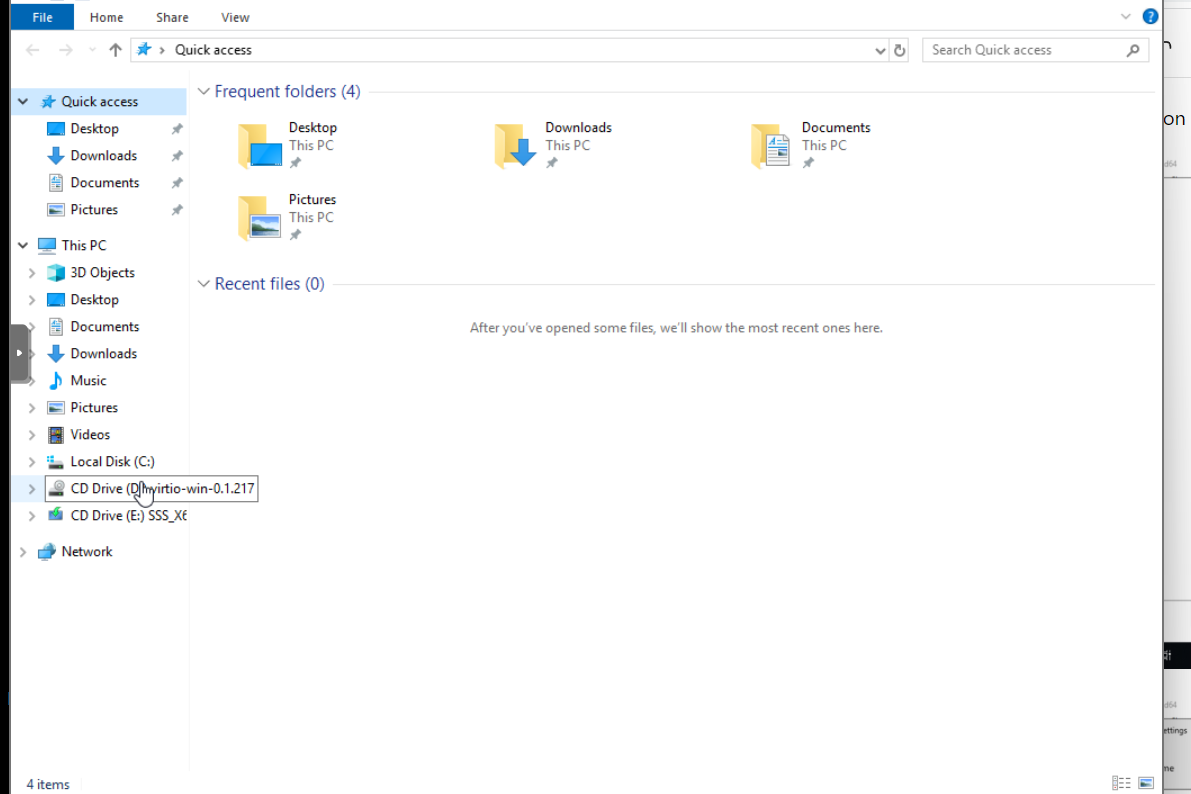
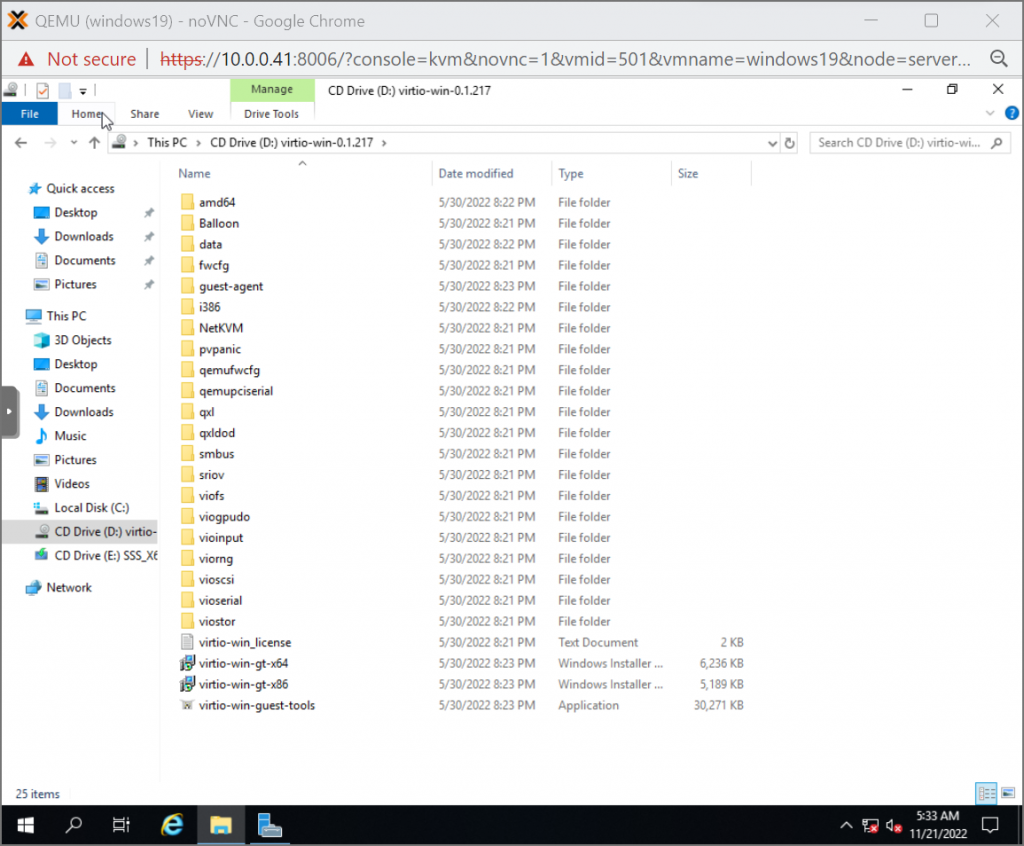
berikutnya bisa menjalankan guest tools pada file directory virtio
file directory > CD Drive virtio-win-0.1.217 > virtio-win-guest-tools
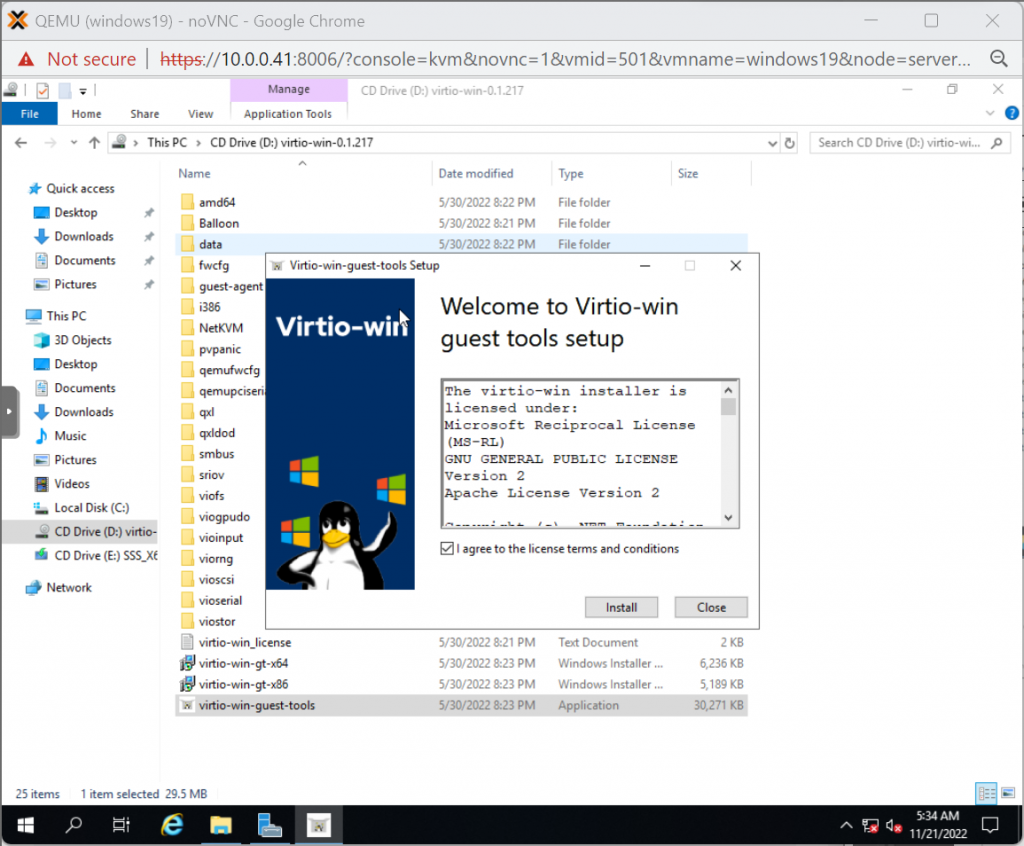
ikuti proses instalasi sampai selesai.
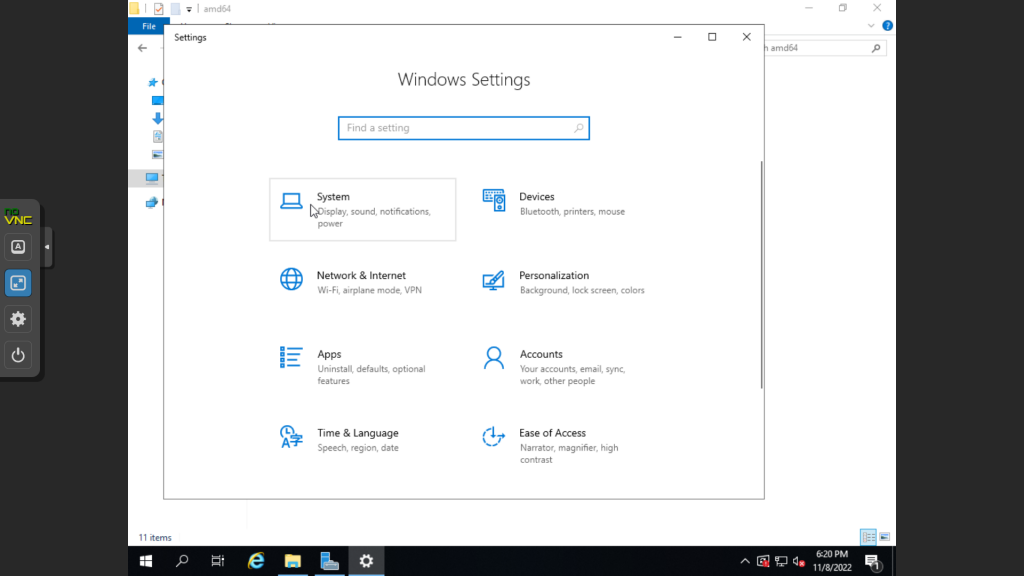
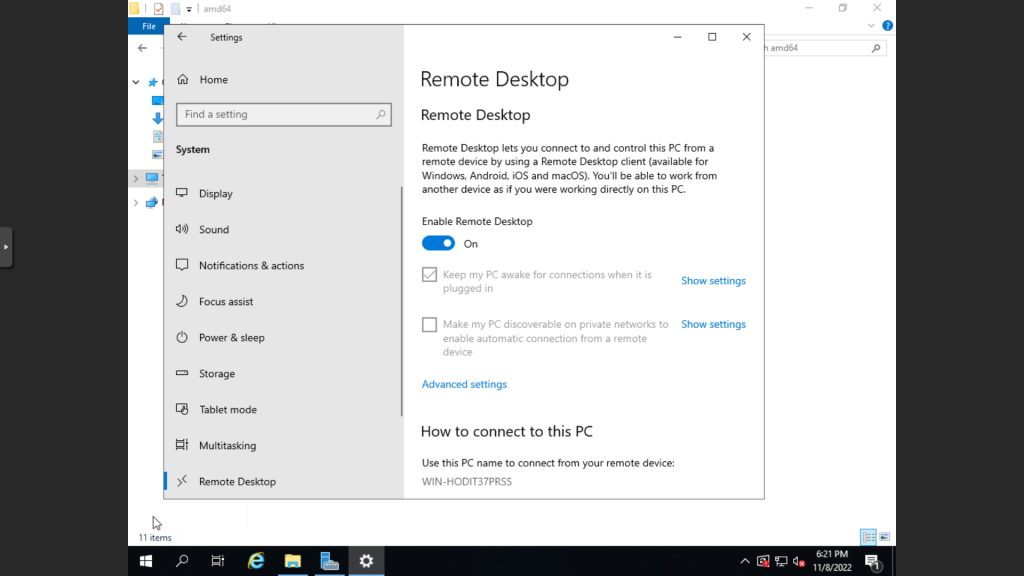
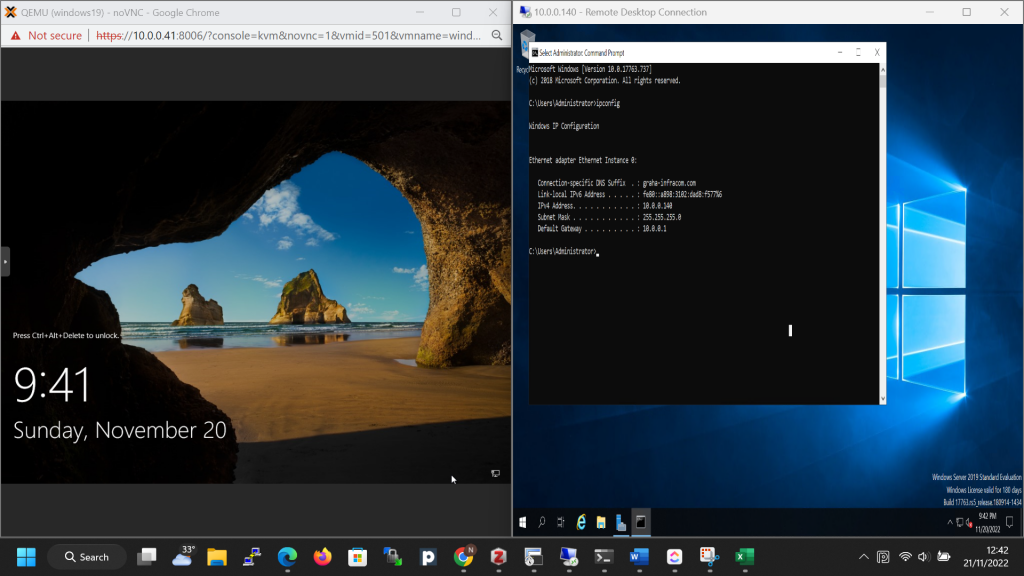
RDP
for RDP you can turn on at setting>system>remote dekstop
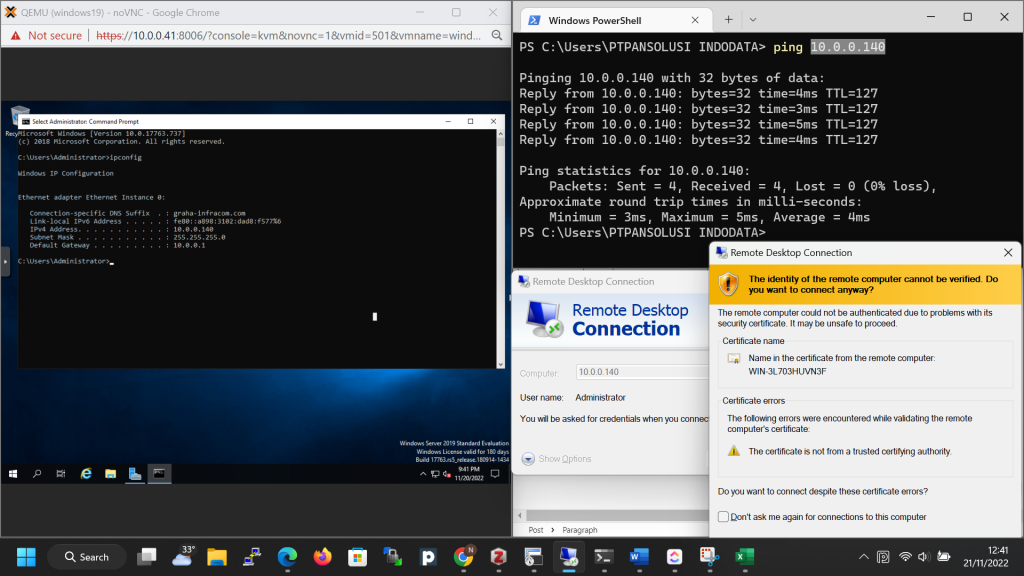
jika ada kendala saat ingin melakukan sign in remote, anda dapat men sign out akses dari konsol. jika masih belum bisa dapat mengecek akses ke vm dengan ping dan mematikan firewall
export disk proxmox dengan command:
qemu-img convert -f raw /dev/pve/vm-121-disk-9 -O raw filename.rawsetelah berhasil export disk, scp ke controler openstack:
scp file.raw USER@CONTROLER_URL:locationupload file raw menjadi image
openstack image create --file win19.raw --public --container-format bare --disk-format raw --min-ram 2048 --min-disk 20 w19 --progress --insecurelaunch instance with the win image